Are you trying to land a job in a recording studio?
Do you run a recording studio?
Or, are you just starting to get your first recording and mixing clients?
It can be daunting when you first start taking on clients, whether in your home studio, or as an employed engineer.
I want to give you six, super useful tips on how to prepare for recording studio clients. These are the steps that I follow for every one of the sessions that I run.
Coming across as confident is one of the most important factors when it comes to interacting with clients, and being prepared is great for boosting confidence.
We want to make sure that the client has a productive session and most importantly, that we keep them coming back for more!
Here goes.
1. Have A Chat With the Client
Naturally, speaking with the client is going to be your first move – that’s how you’ll know they want to work with you!
If you’re working for, or run a recording studio that has a booking manager or a digital booking service, make sure that you reach out to the client anyway via other means. They’ll most likely have given you their contact info when booking, or alternatively, you should be able to find them via social media.
Speaking to the client before the session offloads a lot of the time spent meeting and greeting on the day. Furthermore, it’s key that you understand what they want from the session for a number of reasons.
Encourage them to follow these steps and try to get an idea of what kind of sound they’re after. They might be able to give you an example of an album or song that they like the sound of for you to use as a reference. If they’re not sure, even just asking what bands they like in general can give you something to aim for. In any case, you want to be on the same page as them in terms of what sound they want.
BONUS TIP: Take them down the pub for a drink and a planning session 🙂
2. Research the Client
I cannot stress this enough. If I’m recording a new band, I’ll already know all of their names before we’ve even shaken hands.
Find out everything you can about your client, either through your conversation with them (as per step 1) or through your own research (you don’t want to grill them too much!)
Does your artist have a website or social media presence? Scourer it for info.

Unless your client is one to keep themselves to themselves, you’ll likely find out all sorts online. For example, what parts does everyone play in the band? What does their back catalogue look like? When are they next gigging? And so on.
I also like to listen to as much of their music as I can prior to the session – even if I have to buy it.
Not only does this arm you with useful knowledge on the client’s style, showing that you care enough to take the time to follow them and listen to their music can help harbour a solid relationship from the offset.
Imagine this…
You head to a studio as a singer-songwriter to record for the day.
You make a reference to your first EP in terms of what you want your new material to sound like, and the engineer says…
“Oh yeah I picked that up off of iTunes the other day, it’s great stuff.”
or
“I know exactly what you mean, I was listening to it on Spotify the other day.”
How great would that feel? My work is being recorded by an actual fan? This is perfect!
Show your clients that you care about their work.
What’s more, I’ve had clients offering me their social media links at the end of sessions before in case we want to tag each other when the material is released. You really can notice the relief and appreciation when I tell them that I’m already a follower!
3. Tidy Up the Studio
Before the musicians arrive at the studio, get the hoover out!
While it may seem ‘rock ‘n roll’ to have stacks of half-empty larger cans dotted around the studio, in reality, it’ll just put most clients off and make your job more difficult. I always ensure to give the studio a once over before clients arrive for two reasons.
Firstly, you should be maintaining a professional image. Keeping your workspace and the live rooms clean and tidy gives the place a more ‘premium’ feel. Furthermore, it shows that you care about your work and generally creates a more pleasant atmosphere.
And secondly, it’s important that you can easily access all the equipment that you need and prevents it from getting damaged.
Which brings me onto my next tip…
4. Get All The Equipment Ready
As we’ve discussed, it’s important for all of the essential gear to be easily accessible. Ideally, at a moment’s notice. Here are a few of the checks that I like to make before a session –
- Cables should be coiled correctly (and no, folding them in half and tying them in a knot doesn’t count!) so you’re not fumbling around untangling them when you have a client waiting.
- If your studio supplies instruments, keep them more or less in tune.
- Mic stands should be easily accessible and if you have certain ‘go-to’ mics, it might be worth leaving them on the stands for quick micing.
- Keep wall ports labelled and accessible.
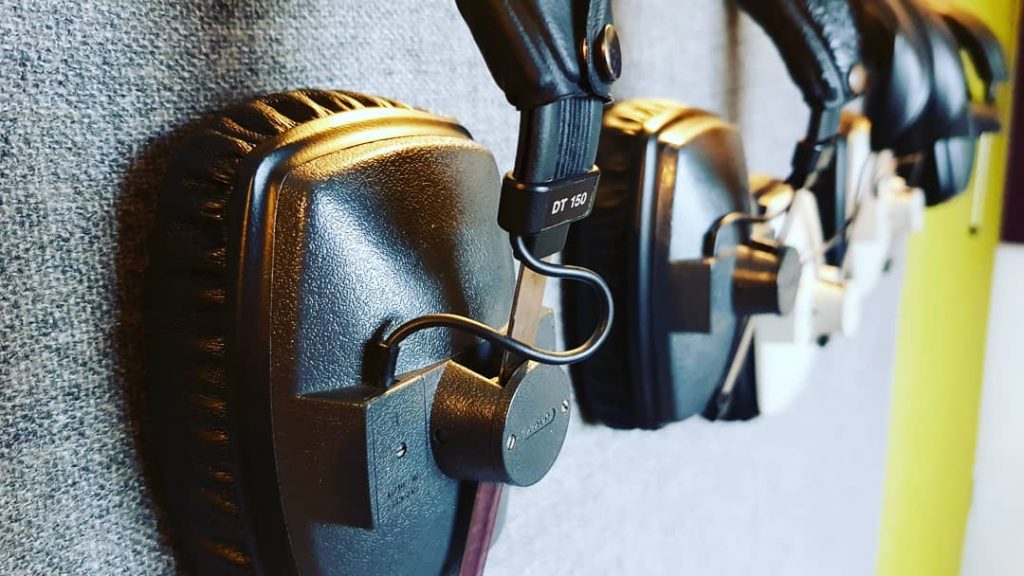
- Make sure all your tracking headphones are ready and available in the live room.
There are loads more that I could go through here, but ultimately it’s going to depend on what gear your studio keeps. Just keep stock and have a ‘reset’ at the end of each session, ensuring everything is where you expect it to be and works as you’d expect it to.
5. Prepare Your DAW Sessions
If the client has given you a solid idea of what they want to record, this step will be a lot easier. However, there are always going to be certain conveniences that you can set up in advance in your DAW (Digital Audio Workstation) that will make your life easier.
Whichever your DAW of choice, whether it’s Pro Tools, Logic, Ableton, you name it – they all let you set up tracks, sends and settings and save these settings to your session or as a template.
Your clients don’t want to sit there ready to record while you’re fumbling around with naming tracks and setting up sends.
While we won’t go into detail about how to go about setting this up for each DAW in this guide, I’ll give you a quick rundown on how the process works best for me –
- Create a DAW session for one of the songs.
- Set up the tracks you need to record each instrument with labels and groups.
- Setup your inputs and outputs as best as you can.
- Setup aux sends for effects to be able to add them to tracks on the fly.
- Save this as a session or a template.
- For each additional song, start with the template you’ve saved or copy the session.
Expectedly, there will be changes that need to be made on the fly, but prepare as best you can.
Setting up additional tracks can save time, e.g. having a couple of backing vocal tracks setup, but deactivated. It really helps to keep the creativity train chugging away in situations when the guitarist asks, can I add some backing vocals, and you can just say “Yep!” and hit two buttons and they’re good to go!
6. Check The Headphone Mixes
As mentioned in step 4, having a pair of headphones ready for each musician is a great idea.
What you don’t want happening is that when they put them on and you hit record for a soundcheck, the click comes and feels like a jackhammer on their eardrums.
Set up a click track or another piece of audio in your session and hit play. Have a quick listen to each pair of headphones to make sure the audio is coming through and that it’s not too loud.
There will be plenty of adjustments to be made throughout the session, but ensuring that the client starts off with a pleasant signal makes for a literally painless experience.
Final Thoughts
Creating and maintaining a relaxed, yet professional atmosphere in the studio is key in knowing how to prepare for recording studio clients.
I truly believe that being prepared in terms of both the physical environment, and your relationship with the client, can affect the quality of performance, and ultimately the quality of the record.
Even though they’re paying you for your time, the time that they’re paying for should feel like money well spent and not wasted. Furthermore, it makes you look good as an engineer or producer. You want people to remember your name for all the right reasons.
Ultimately, you should come to the studio prepared. Build a healthy relationship with your clients and make sure that they enjoy their experience.
This is one of the most important mentalities that you need to have to run a thriving recording studio.
–
If you’d like more tips and insight on the industry, feel free to leave your email address in the box below to receive regular content updates!