Good news – it’s easy to record bass guitar at home!
I’m going to explain the most simple and cost-effective way of recording bass at home, whilst retaining the instrument’s natural depth and low frequencies.
DI? Why?
There are two main ways to record bass guitar – Direct Input (DI) or through a bass guitar amplifier with a microphone. It’s also common to use both of these techniques simultaneously.
However, to keep things simple and cost-effective (and to keep your neighbours happy) I’ll be focusing on the DI method.
DI allows you to plug your bass directly into your computer environment (PC or Mac) and record straight in, rather than using a microphone. This is the ideal option for recording bass guitar at home – it’s cheaper, it requires less space and makes less noise.
Having said that, even in professional studio environments, DI is a perfectly viable option – especially for bass guitar. I personally record the majority of bass guitar using the DI method. Not only because of the simplicity of it, but because it sounds really good.
DI makes it very easy to capture the deep lows of the instrument, as well as avoiding any bass build-up caused by the room it’s being recorded in (which can be a problem when recording bass amps in certain environments).
It also allows you to record other musicians at the same time without having to deal with bleed. If you’re not familiar with bleed, bleed is when a microphone recording one instrument, picks up the sound of another instrument being played.
For example, if a bassist and a drummer are recording together, recording the bass using DI prevents the drum mics from picking up bass tones (and bass tones really do carry!).
Bass Recording Setup
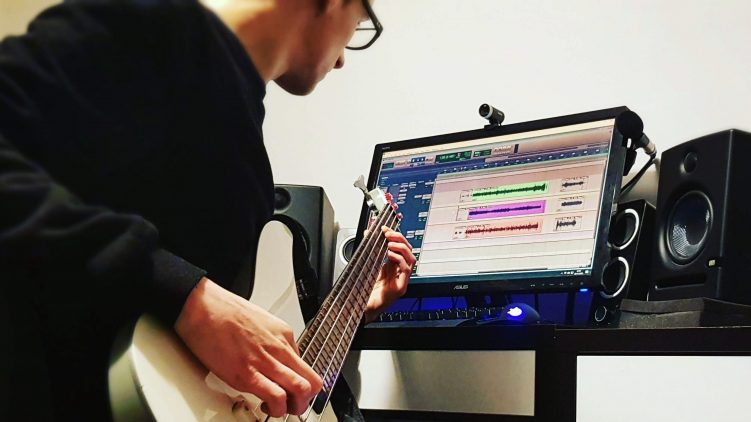
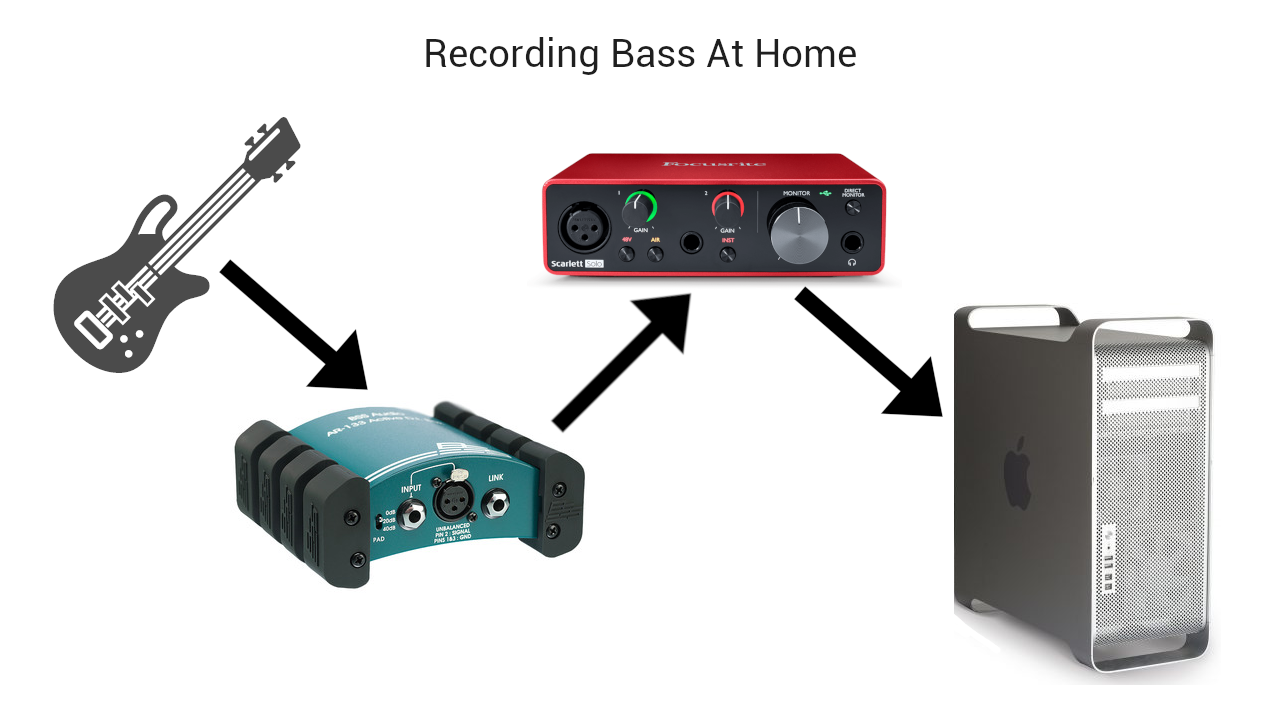
Let’s look into how you can record bass guitar at home using the DI method. Our setup will be comprised of four main components – the bass guitar itself, a computer, an audio interface and a DI box.
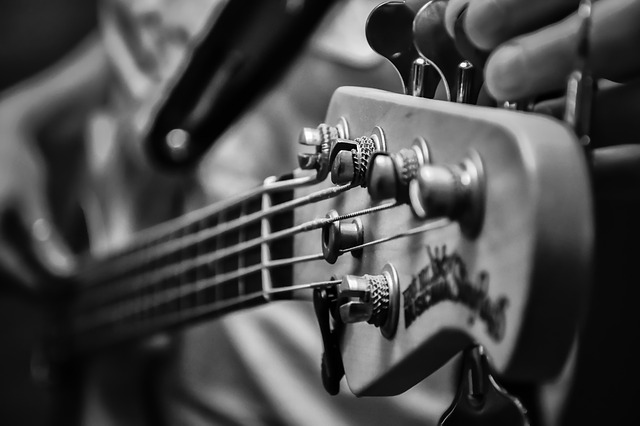
1. Bass Guitar and Jack Cable
You’ll need your instrument to record, naturally…
In addition, you’ll need a standard instrument jack cable. If you can, make sure to use a quality cable. This is especially important when we’re recording in the studio, as opposed to if you’re just practicing.

It’s also an idea to use a cable that’s just the right length with a little excess. If it’s too long, not only can it get in the way, you can start to see a drop off in audio quality. And in contrast, a cable that’s too short puts you at risk of yanking the cable out mid-recording, which is more frustrating than hitting a bum note!
2. A Computer with Digital Audio Workstation Software
You’ll likely already have a computer. You might be reading this on one right now! You can record your bass guitar onto your Mac or PC.
You’ll need a piece of software installed on your computer called a digital audio workstation or DAW for short. DAWs are software packages that provide a graphical user interface to make it simple for you to hit record and lay down your bass tracks (or any other kind of audio).

If you don’t have a DAW yet, take the time to do a little research and find out which one is right for you. Bear in mind that some DAWs are only designed to run on one platform (PC or Mac).
If you want to quickly start practising recording today, Audacity is free and provides all the basic features to get you started with learning.
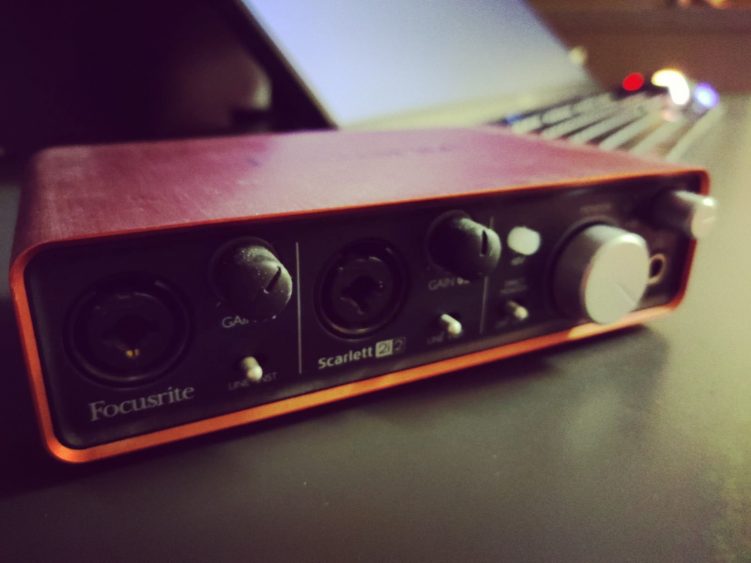
3. An Audio Interface
To record the raw bass audio onto your computer, you’ll need something to convert the analogue signal of the instrument, to a digital signal that can be rendered, stored and played back on your computer. That’s where an audio interface comes in.
If you haven’t got an audio interface yet, I highly recommend having a read through my guide on what they are and what they do, right here. If you’re already clued up on audio interfaces but aren’t quite sure which one to buy, or you’re reluctant to fork out the cash, take a look at my budget audio interface guide. It’s amazing what you can find for as little as $50/£30.
You’ll also need some speakers or headphones to connect to the interface, firstly to monitor (listen to) the audio you’re recording, and secondly to hear it back afterwards.
4. A DI Box
This one is technically optional, but highly recommended. In a nutshell, a DI box is a piece of hardware that is connected between your bass and your audio interface.
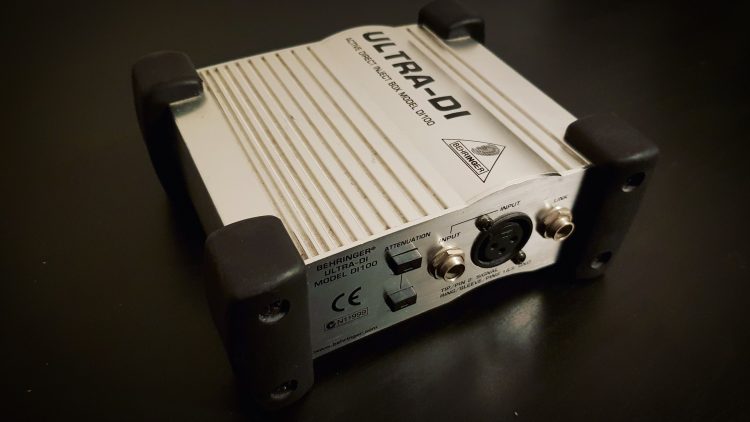
They can improve the quality of your recording, and have a few extra really useful features for recording bass guitar. I recommend having a read through my DI box guide to give you a clearer idea of why they’re needed for recording directly into your computer.
Start Recording
Step 1: Preparing Your Bass
It’s important that we start from the top. We cannot expect to get a great sounding recording if the thing that were recording doesn’t sound great. There are a few things to think about before you even plug your bass in –
- Is your bass in tune? Nothing is more annoying than recording a perfectly played bass line on an 8 minute prog rock song, only to listen back and think “hmm… seems a bit ‘tuney’”. And trust me, I’ve been there!
- Are your strings still fresh? If your strings are old and dull, your recordings will sound old an dull – simple as that. Before recording, replace old strings and be sure to ‘break them in’ to prevent them going out of tune whilst recording.
- How should the part sound? Is it a picked part or is the part more suited to fingered bass? Which pickup sounds best for the part? Make sure you’re completely happy with how the bass sounds in context.
Step 2: Preparing your session
If you’ve got everything setup as above, you should have your DAW installed and good to go for recording. Your audio interface should be setup in the DAW as the primary audio input. In addition, you should have some headphones or speakers attached to it.
The next step is to create a new audio track to record onto. How you do this is going to depend on your DAW. Be sure to read through the manual or check out some DAW specific tutorials on YouTube.
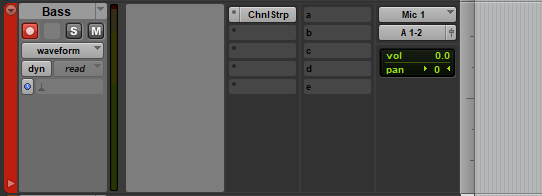
Regardless of the DAW you’re using, I recommend making the following settings changes to the track –
- Make sure it’s a mono track and not stereo. A bass guitar outputs a mono signal.
- Change the input of the track to the relevant input of your audio interface.
- Set the output to your master channel.
- Rename the track to something simple like ‘Bass’ or ‘Bass Gtr 1’. This will ensure the audio tracks are saved with a relevant name, making it easier to find them in your audio folder if needs be.
- If your DAW supports changing colours, go ahead and make it something pretty. I use red for bass ?
- Once the bass is plugged in, arm the track for recording.
Step 3: Gain Staging
This is where we make sure that everything is not too loud and not too quiet. It’s easy to forget just how many points there are throughout our setup from bass to computer (our signal chain) that let us change the volume. Let’s count them –
- The volume knob on the guitar
- Pads on the DI box (if yours has these)
- Input gain knob on your audio interface
- The fader on the audio track in your DAW
- The overall level of the master fader in your DAW
- Your audio interfaces output gain knob
Wow.
SIX volume sliders/faders/knobs/whatevers. Maybe more depending on your setup.
We need to make sure that all of these are within their optimal dynamic range. This is called gain staging.
Too loud could clip your signal and make for a horrible result. Too quiet and you’ll have to turn the track up so much post-recording that you’ll also be turning up a bunch of nasty noise too. Again, horrible result.

Step By Step
This is how I’d recommend setting your levels –
- Leave the audio and master tracks in your DAW at it’s default.
- Make sure the output is set to a level that’s comfortable when listening to other sound sources.
- Turn your bass volume pot up to 10 (or 11 if yours goes one louder). It may seem odd starting at max volume, but the volume knob on the bass can affect the actual tone, and we want the bass to put the work in. Also, it’s one less thing to worry about adjusting.
- If your signal chain includes a DI box, which it should, you can set your interface to ‘mic level’. If not, you’ll need to set it to ‘line’ or ‘instrument’ level. You’ll either have a switch on the interface to do this, or you’ll find it in the software your interface came with.
- Play the bass as loud as you plan to play it during the recording. Is the red ‘clip’ light on your audio interface blinking at you? Turn the gain on the relevant channel down just enough until it’s not. This should match up more or less with what you’re seeing on the audio track in your DAW. You shouldn’t be seeing any red ‘clip’ alerts on there either.
Signal Too Hot Or Cold?
If your signal is coming in too hot and you’re getting angry red lights blinking at you left, right and centre, check your DI box. Is there a ‘Pad’ or ‘-## dB’ switch on there? This will cut the signal by a set number of decibels, taming the signal before it reaches your computer. Alternatively, you can experiment with lowering the volume on the bass itself.
If your signal seems to be coming in too quiet, double-check that the channel on your interface is set to ‘line’ or ‘instrument’ level if you’re not using a DI box. Also, have a look at where you’re noticing that it’s too quiet. Is it in your DAW? Perhaps the master fader is low, or you may just need to zoom in on the tracks.
Just make sure to turn your speakers and headphones down until you can see a clear signal coming through. You don’t want to crank up the cans to max because you can’t hear anything, and have your audio suddenly coming through like a jackhammer when you fix the problem – and again, trust me, I’ve been there!
Step 4: Hit Record!
You’re all set!
Get your click track or backing track ready if you need one, take a deep breath, and hit record. You can always make adjustments if you notice any issues once you’ve started recording, e.g. your playing is louder than you thought.
It’s better to record a short sample, listen back and then make adjustments as opposed to recording the whole thing only to realise it’s not sounding like you expected.
Audio Pro
Once everything’s in place and you’ve made a couple of quality recordings, things start to seem simpler. You’ll see that even when recording bass guitar at home, you can achieve a professional result.
For other instruments, I’d be less quick to recommend only going down the DI route. For bass, on the other hand, I often opt for DI even in a pro studio.
Are you looking to learn how to record other instruments or your vocals from home? Drop a comment below and I’ll put together a guide just like this one on the most effective way of getting started.