A lot changed in 2020. Including audio.
Recording studios were closed for most of the year, meaning musicians spent more time recording from home. And millions of non-musicians, who may never have touched a microphone before, found themselves having to quickly learn the ropes of home recording and broadcasting. In addition, podcasters have mostly transitioned to remote setups to conduct their interviews.
And a lot of these changes – I believe – are here to stay. Home recording, streaming and internet calls were already on the up with equipment and training becoming more and more affordable and accessible. And a year of lockdowns has only accelerated this trend.
With that in mind, I’ve put together 21 home recording tips for better recordings in 2021. We’re talking gear, workflow and technique. I want to help you to get better quality and more professional recordings from home.
They’re in no particular order, they’re all super important so stick around for the full 21. Let’s do this.
1. Consider the Space That You’re Recording In
The sound of the room that you’re recording in, can be equally as important as the microphone that you’re using, or the instrument that you’re playing.
Any room in your home will have it’s own acoustic response. For example, a purpose-built home studio with acoustically treated surfaces will likely have minimal reverb, and any reverb that remains will hopefully be tonally balanced. Whereas recording in your open-plan kitchen will likely produce an unnatural and harsh roominess that your microphone will pick up during recording.
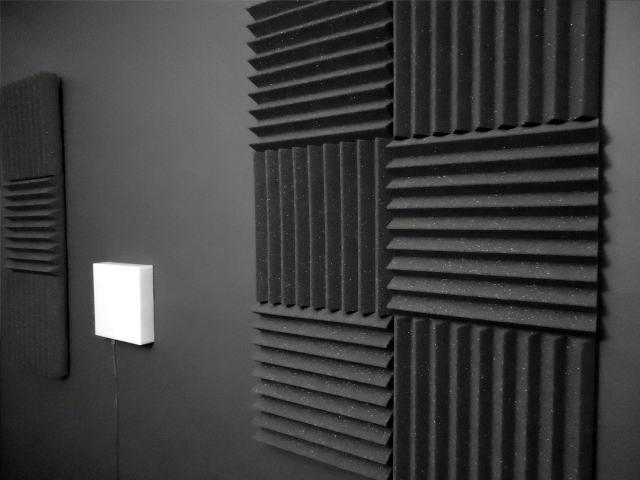
If you don’t have a purpose-built home studio, consider which room in your house creates the least amount of unwanted ambiance. This will likely be a smaller room, and may house soft furnishings such as a sofa or bed, to absorb some reverberation. You can also consider investing in acoustic treatment – even budget, foam panels are better than nothing (as long as they’re relatively thick).
If you truly have nowhere suitable at home for recording, though, and don’t have the budget to make somewhere suitable, then consider how you can record to mitigate unwanted room sound. This brings us onto the next tip…
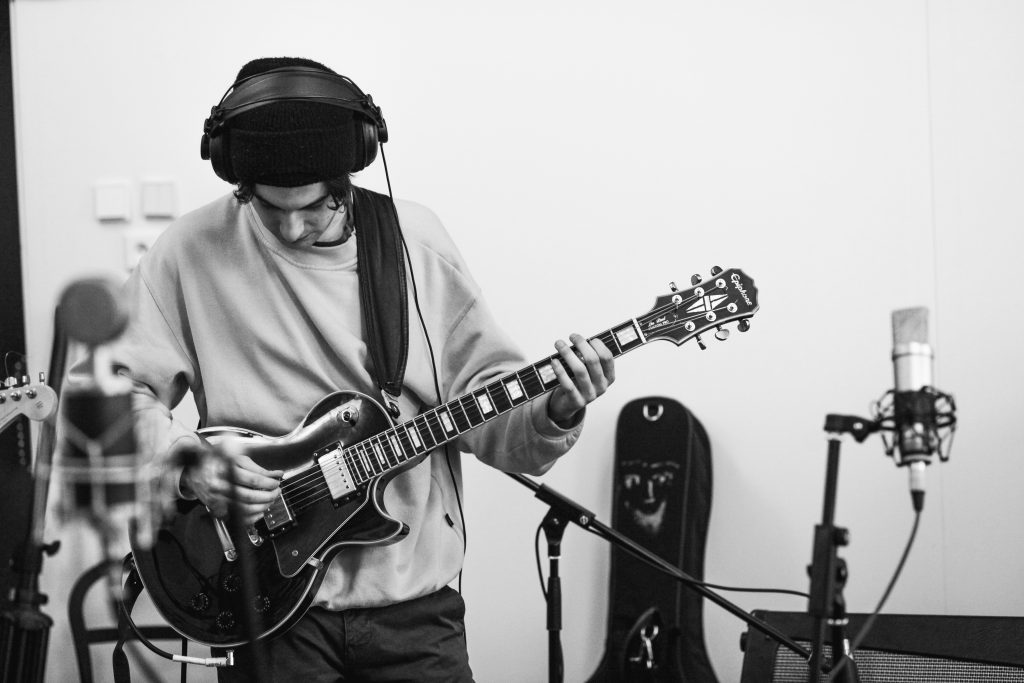
2. Get the Right Mic For The Job
You’ll likely be using one of two main types of microphones for home recording – dynamic or condenser. What’s the difference though? And which one is right for the job?
In a nutshell, dynamic mics are built for recording things up close and personal. They can withstand loud sounds, and their pickup pattern doesn’t do so well at picking up distant sound sources. Condenser mics, on the other hand, can pick up sound from further away with more clarity. They work well for capturing more delicate and detailed audio.
Referring back to tip number one – if your room sounds bad, then lean towards using dynamic mics. Condenser mics pick up a lot more of that room reverberation, and this will be apparent in your recordings if your room is untreated.
Great for podcasting
Industry-standard for guitars and even vocals
Excellent condenser mic for vocals
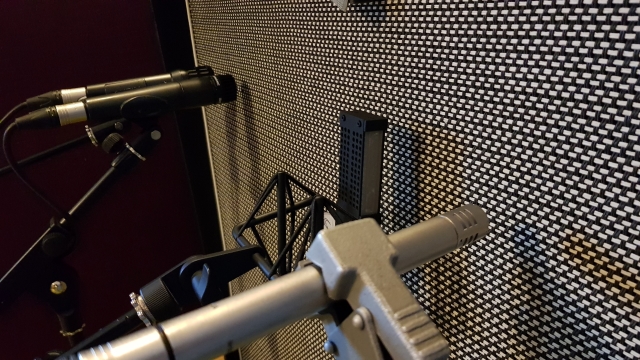
3. Get to Know Your Microphone
All mics aren’t created equal.
Every single microphone responds differently to sound. And how they respond is almost as important as how your voice or instrument sounds. Test different placements of your mic. Test it on different sources. Keep testing and listening back on some quality speakers or headphones.
The more you use your mics and critically listen to your recordings, the better you’ll get at using them, and your recordings will improve drastically.
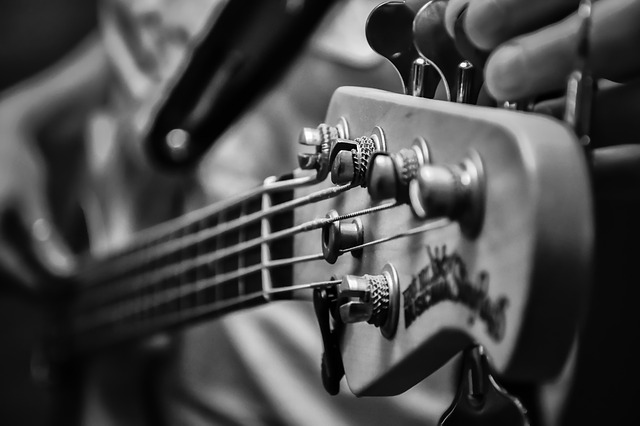
4. DI Is Your Friend
Direct input is a great option for if you don’t have a mic yet, or you live in a noisy or untreated home. You can get perfectly usable results by plugging your guitar and bass directly into your audio interface via a DI box. I go over how to get great results with DI guitar in this video.
The Best Budget DI Box
5. Test Recordings
Always make a test recording and listen back before committing to recording a full take of something. Nothing’s worse than listening back to a perfect take and realising something’s off with the sound.
6. Use Closed-Back Headphones While Recording With a Mic
If you’re recording something in a small room at home with a mic, and you’re monitoring the backing track with speakers or even open-back headphones. There’s a good chance that your mic will pick up whatever you’re playing to and it’ll bleed into your recording. The worst thing is if you’re playing to a click and your vocals end up with an incessant clicking in the background. Closed-back headphones are the way to go.
Budget Closed-Back Headphones for Tracking
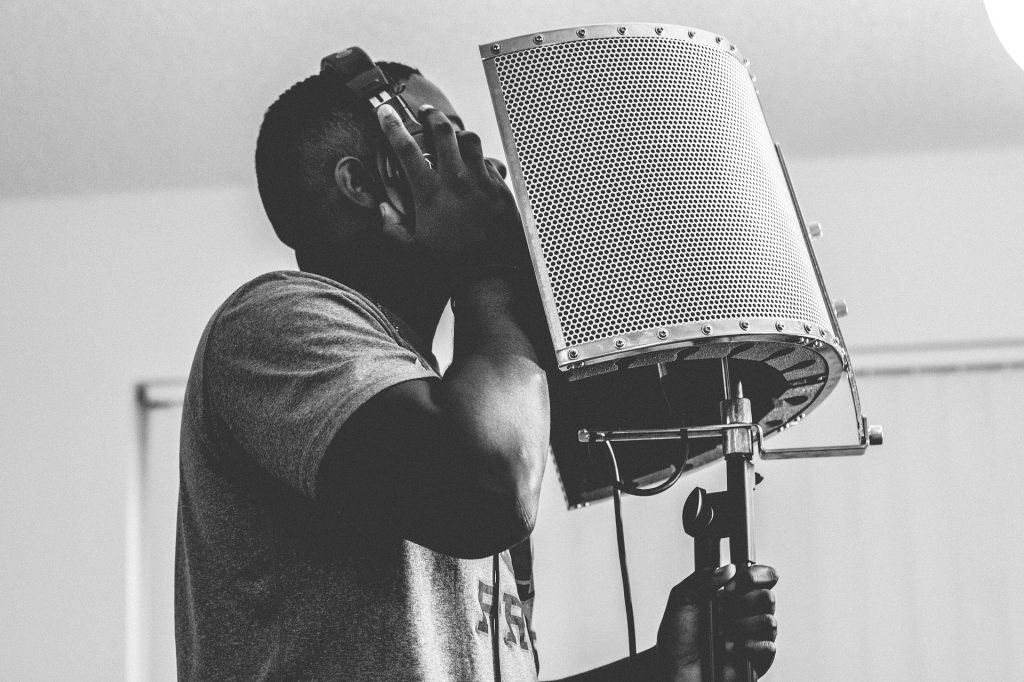
7. Use a Pop Filter for Vocal Recordings
Please don’t perform vocals without a pop filter. Those windy sounds or plosives that you end up with on your recordings can really ruin a recording and it’s not always possible to edit them out. This is especially common with podcast recordings I hear where the speaker was sadly unaware that a pop filter or wind sock is essential.
Budget Pop Filter
8. Don’t Record Too Hot
You don’t need to record as loudly as possible. Check how hot the signal is that’s coming into your machine by performing the loudest part before recording. It shouldn’t be anywhere near that 0db mark on your meters. If it hits 0db you’ll get nasty digital clipping on your recordings. I go into detail on exactly how loud you should record and why in this video.
9. Invest In An Audio Interface
If you don’t have an audio interface and you’re plugging directly into your PC with an adapter, I highly recommend switching to an interface. A cheap one like a PreSonus AudioBox or even a Behringer U-PHORIA will do wonders for your audio quality, consistency and it’ll give you far greater control over your recordings.
Low-cost Audio Interface with Two Mic Inputs
10. Save After Every Take
Audio software has a tendency to crash when you least expect it. You don’t want to lose any progress after you’ve just nailed a perfect take. Get into the habit of hitting Ctrl + S or CMD + S as soon as you’ve hit the Stop button.
11. Check Your Instruments Over Before Recording
Your recordings are only as good as what you’re recording. You could have the best mics and pre-amps but if your guitar is out of tune or your strings are dull you’ll likely want to re-record after listening back. Check your instruments before you start recording, and regularly throughout the session.
12. Warm Up Your Voice Before a Vocal Performance
And similarly if you’re a vocal performer or a speaker – give your voice a gentle warm up session before you start. Even if you don’t feel you need it as you’re singing, your voice is likely to deteriorate more quickly through a long recording session. And it’ll help you to nail those falsettos the first time round.
13. Choose the Right Sample Rate
Sample rate is one of those settings that’s often ignored and left on default when starting a session. If you want to ensure that you’re getting a quality recording without taking up too much CPU and hard disc space in the process, then it’s important to be mindful of what sample rate you’re recording in. I go over how sample rate affects your audio and which one you should pick in this video.
14. Choose the Right Bit Depth
Bit depth is another setting that’s often not considered when home recording. In a nutshell, the bit depth that you record at, determines the number of possible amplitudes that your system has to choose from when digitizing an audio sample. Be sure to set this correctly before you hit record. I go over how bit depth affects your audio and which one you should pick in this video.
15. Keep The Right Distance Between You And The Mic
If you get too close to your mic, particularly a condenser mic, your recordings will suffer from the proximity effect. They’ll be overly bassy, lose some natural ambience (if that’s what you’re going for) and exaggerate plosives and other unwanted sounds. On the other hand, if you’re too far from the mic your recordings will lack clarity, warmth and intimacy.
A good rule of thumb for speaking or singing into a mic is to keep a distance of around two ‘hand widths’ between the mic and your mouth. You will need to experiment with this though, depending on what you’re recording, the mic you’re using and your room. Which leads me onto the next tip…
16. Experiment!
The more mic placements, and different recording techniques that you try, the easier it’ll be to get your head around how your equipment responds to your vocals or instruments in different scenarios. There’s rarely a “right and wrong” when it comes to audio engineering and there are infinite ways of recording. Try different techniques, listen back, and if something doesn’t sound right, keep experimenting.
17. Scheduling = Success
There’s nothing like rushing to ruin the potential of a recording.
Picture this.
You and your band are well practiced and raring to go. You know the material, you’re in the mood for tracking. But in your confidence, you’ve only scheduled two hours of the day for recording four songs together. The songs are only five minutes long, that should be okay, right?
You can expect to use half of that time, simply setting up and getting warmed up. Your guitarist’s string breaks in the first take. That’s another ten minutes gone. Now you’re all in rush mode and aren’t performing as well. You end up with two mediocre recordings and everyone has to get back home.

Allow for the set up, allow for double the time you think it’ll take to track everything, and add a little extra for contingency. It’s not worth trying to rush things, only to have the session wasted with poor recordings.
18. Spend Money on What Matters
If your recordings aren’t turning out how you want them to, be very careful before deciding that buying new gear is the solution. If you already have the basics (a reasonable mic and an audio interface), nine times out of ten, any issues can be solved for free.
Most of the time this will be through education. Try to put into words what you don’t like about the sound that you’re capturing, or simply export the audio and seek out advice on forums, or just Google search what issues you’re having, or just reach out to me.
And even if your technique is great, and it’s your room that’s the problem, room issues can often be fixed for free, or very cheaply as well. So think hard before buying a brand new, state of the art interface or a bunch of new mics.
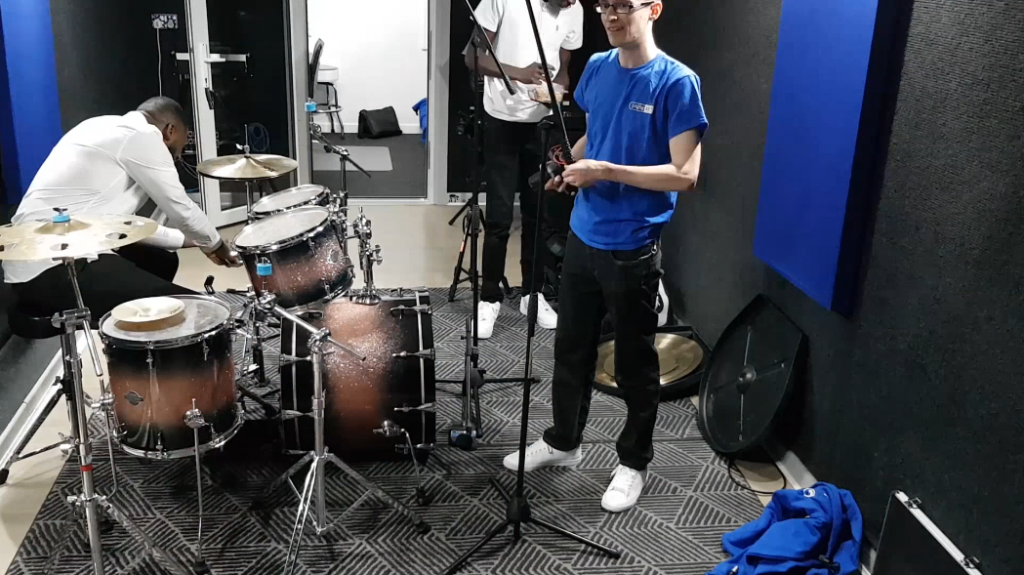
19. Use an Engineer (Or Willing Friend!)
If you’re a solo artist, enlisting the help of an assistant engineer can really improve a recording session. It can be difficult to focus on your performance if you’re also having to fiddle with your DAW and hit the record button yourself – especially if multiple takes are needed.
Ask a friend to help if you can, or a band member if you’re recording separately.
20. Try Dual Micing
If you have room in your budget for a second microphone, dual micing techniques can make the recording process much more interesting. You could consider a matched pair of condenser mics to capture stereo acoustic guitar. If you’re micing up an amp, try two completely different mics and blending the two sounds together. Or, if your room is acoustically treated, you might consider setting up a condenser mic or two elsewhere in the room to record an ‘ambience’ track.
And if you record podcasts with one condenser mic between two of you, you could upgrade to two, individual dynamic mics. This way, you’ll get a more intimate sound, and you’ll be able to process your audio separately, like the pros do.
The possibilities are endless.
Solid Pair of Mics for Recording Stereo Acoustic guitar
21. Just Keep Recording!
Nothing will improve your recordings in 2021 though, more than simply recording as much as possible. Of all the home recording tips you could read, this is the one that’ll get you the best results. You’ll likely start off by making a few bad recordings, just like I did. But just keep listening back and working on your technique and your room and you’ll realise just how amateur those early recordings sound. But that’s a good thing, it means you’ve improved!
Let’s use this year to improve our skills and get some awesome, professional-quality recordings from home. Let me know with a comment below, which of these 21 home recording tips was your favourite?
hoi
Hi!
A really sensible and very useful summary. Thank you.
Hi Peter, I’m glad it helped 🙂