My partner and I moved house recently. The new place wasn’t in terrible shape – we could see the potential – but it was a bit run-down. Dirty carpets, a few cracks here and there, mismatched decor…
It’s tempting to do the exciting stuff first. Move in that nice new comfy sofa, hang the LCD up on the wall… but we didn’t want to get ahead of ourselves.
Opening up a mix session in your Digital Audio Workstation (DAW) after the recording stage is completed, kind of feels like walking into the new place you’ve just bought or rented. You immediately start imagining what the curtains will look like, where the sofa is going to go, where to slap your Stranger Things poster… but it’s still going to look ugly and mismatched with the yellow-tinged walls.
I’m sure you’re going to have all sorts of creative mixing ideas bouncing around your head that you want to get in place. You want to get to the exciting stuff. But let’s clean things up a bit first and get things balanced.
First Step To Mixing Music
Balance the levels.
Getting the levels balanced across all of your tracks is the most important part of the mix and the first step to mixing music. Level balancing has the highest progress to time ratio out of all aspects of mixing. This means you’ll make a huge amount of progress towards your finished mix in a short space of time. It’ll also give you more clarity on exactly what the individual elements need when it comes to EQ, compression and adding effects.
Here’s how to balance the levels in just three simple steps.
1. Put The Song On A Loop
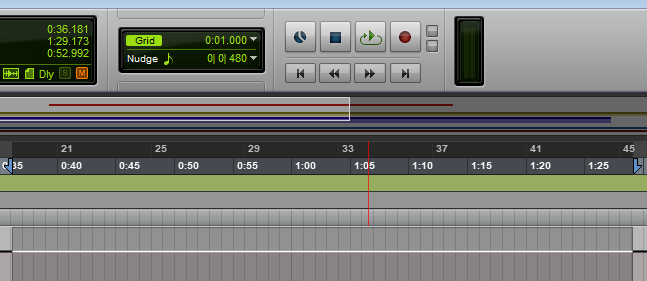
Set up a loop in your DAW. You can loop the whole song or focus the loop in an area where most or all of the tracks are present. Hit play.
2. Start Bringing Faders Down
Does a certain instrument seem too loud to you? Gradually bring the fader down until it sits right. Generally speaking, you’re looking for the perfect balance – not overpowering but not hidden. This isn’t a rule of thumb though, perhaps you want some tracks to only just be noticeable as a creative choice.

It’s important that most of the level changes that you make are attenuations (reductions) rather than accentuations (increases). This will make life much easier for you over the course of the mix as it’ll stop you from reaching that nasty red area on your main monitor.
3. Adjust The Level Of The Whole Mix As Needed
You may find that after all these level changes the summed level is going into your master fader too hot or too cold. You might not want to mess with the balance any further at this stage, so add all of the tracks to a group in your DAW and drag the faders up or down in unison as required.
I like to keep my master fader peaking no higher than around 0dB at the song’s loudest point to leave plenty of headroom for adding additional tracks and for mastering.
The first step to mixing your music is now complete.
Want to see this process in action?
Now Let’s Get To The Fun Bit
Now that you have your levels perfectly balanced (as all things should be (Thanos, 2019)), you can move onto the next stages of mixing. You’ve given your mix a fresh coat of paint. The mix should already be sounding much closer to its final state in just 10-15 minutes of work.
You’ll no doubt need to make more level changes throughout the mixing process and you’ll likely want to automate some level changes too. Nonetheless, you should now have a solid starting point and more clarity on which tracks need something a little extra to stand out.
Now, let’s get that poster up on the wall.